This is not a blog post about setting up retropie, however. It went pretty standard as long as you follow along with their instructions on their page, so I won't address that.
No, the problem I started seeing almost immediately is app crashes, freezing, and unexpected behavior. The IC on the Raspberry Pi 3 is rated at a max temperature of 80' C. When I checked my temperature, even at idle, I was running mid 70s. Yipes. Too hot!
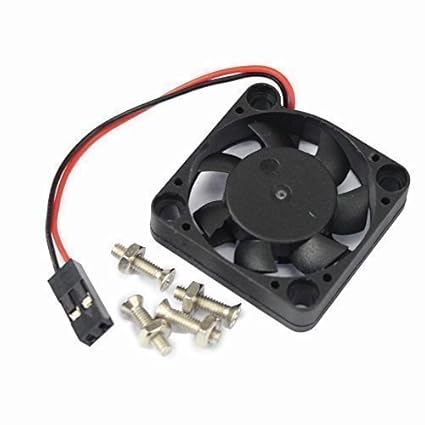
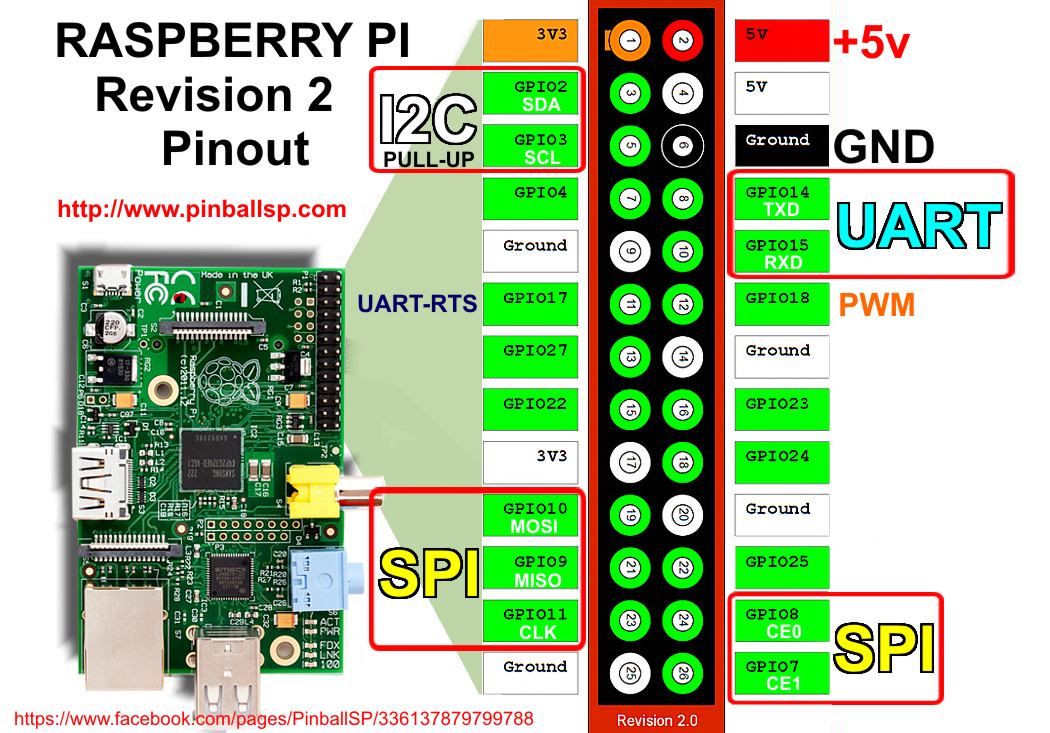 Even though the RPi shouldn't need active cooling under normal circumstances, I was not operating under normal circumstances. Ambient temperature inside the TV was affected by the TV electronics heating up, so the pi could not passively cool effectively. I needed a fan. At 5V, 0.2A max, this fan seemed ideal. So I bought it. It can plug directly into the 5V rail of the GPIO on the pi, and connect to ground. There are 2 pins on the GPIO that seem like they were designed for just this, pin 4 and 6. All we need to do now is open up my case, and install the fan. Sounds easy, right. Well it would have been easy, except that I had ALREADY permanently affixed the thing inside my TV, so I couldn't remove it to get the top of the case off, or do anything else much with it.

 |
| Case with fan hole cut. |
 |
| Pull up, apply masking tape, hope it doesn't fall |
Now that I had the fan in place, I needed to do something about the metal plate that covered the Pi here. You see, a fan doesn't do you very much good if it doesn't have any access to ambient air to blow. I sized up the location of my fan relative to the edges, and laid out my new hole pattern I was going to drill.
 |
| Hole Pattern |
 |
| Drilled holes. |
 |
| Holes in plastic cover |
 |
| I think I messed up the label. |
By the time I was finished drilling holes, my JB weld finished setting, and it was time to bring it all together. I plugged in the fan into the two pins I mentioned before Closed the whole thing up, and turned it on. Fan spun up. It sounded like the blades were brushing something, because it was loud, and getting louder. Even completely covered up by the case, running at 10k and brushing something with each blade on every revolution, this thing sounded like a small dustbuster. This was No Good for a media smart TV. I opened the thing up again to see if I could find what we were running into. Turns out that this particular fan doesn't keep its wires away from the fan blades very well, and the blades were brushing the wires. This took lots of finagling over several attempts to get the fan where it wasn't hitting itself when it spun up. But even then the sound was very loud.
I checked my temps, and this thing was running cool. I want to say it was less than 55' C under full load with the fan fully spun up. So it was doing its job, just at a audible level I was not happy with. Remember how I used JB weld again, and this thing was now a permanent resident? Yeah, time for some more engineering.

I almost forgot to mention. Before all of this I was getting a lot of noise out of my speakers. Anytime something would be busy on screen, or there was disk activity, I'd hear a little noise. Turns out the AV cable I used wasn't of the highest quality, and in addition the way I had my power supply connected meant that my Pi wasn't getting properly grounded. I fixed that (mostly) by adding a wire from a ground GPIO pin to the case. No, that solder joint didn't hold, but the wire is sandwiched between the side plate and the top plate, so it stays in place. And my noise was reduced significantly (but not totally). Too bad that AV cable was now a permanent resident.
In part 4, you get to find out how I dealt with my obnoxiously loud fan.
No comments:
Post a Comment